
Review · PHOTOGRAPHY SESSIONS
Kyoto Photography Masterclass – Private Photography Lesson
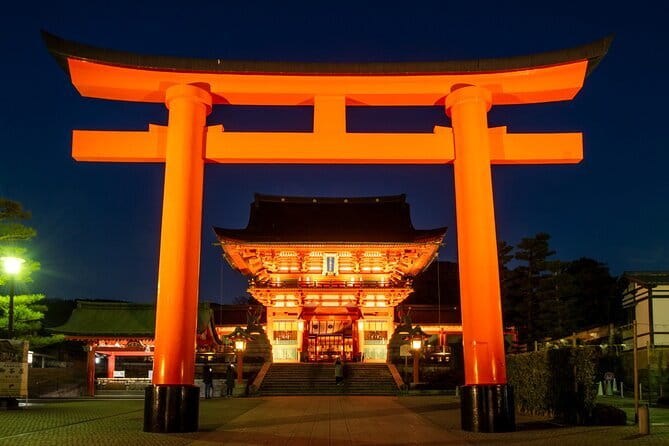
Kyoto after dark is a photo masterclass. This 3-hour private lesson pairs a professional photographer’s coaching with local routing so you can chase the right angles and lighting in real time, from Gion to Kiyomizudera.
I especially liked the hands-on focus on camera settings and composition, then the chance to try again with quick feedback. I also loved the rhythm of the route, which mixes famous spots with calmer moments so your photos have Kyoto texture, not just crowd shots.
One thing to plan for: you bring your own camera, and a tripod is only available if you request it in advance.
In This Review
- Key things I’d watch for before you go
- Setting out from Higashiyama, where Kyoto photos begin
- Gion streets in daytime: finding patterns, not just postcards
- Gion Corner and Minamiza Theater: framing Kyoto’s performing arts vibe
- Pontocho District at night: lantern light that really tests your skills
- How to get better fast in scenes like Pontocho
- Yasaka Shrine and Hokan-ji Temple: where shadows do the storytelling
- Koju Ninenzaka: the slope approach to cinematic streets
- Kiyomizudera Temple at night: long exposure, big light, real-world balance
- What you’re actually learning during the 3 hours
- Camera gear, tripod plans, and what to request
- Price and value: is $170 per person worth it?
- Who this Kyoto photo lesson fits best
- Should you book Kyoto Photography Masterclass?
- FAQ
- How long is the Kyoto photography masterclass?
- Is this a private tour or a group tour?
- What’s included in the price?
- Do I need to bring a camera?
- Is a tripod provided?
- Where does the tour start?
- Will I receive a mobile ticket?
- Can I get a full refund if I cancel?
Key things I’d watch for before you go
- Private 3-hour coaching with step-by-step instruction tailored to your level
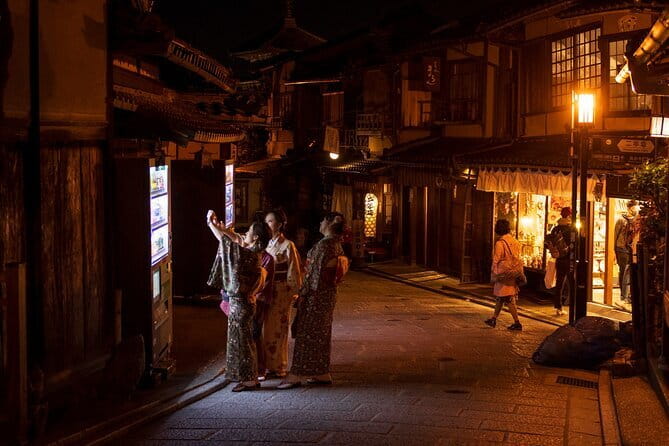
- A day-to-night route across classic Higashiyama scenes, including Gion and Pontocho
- Night photography focus on long exposure, using lantern and temple light well
- On-the-spot review and resets so you can improve shot by shot
- Local insider timing to help you find good vantage points and photo angles
Setting out from Higashiyama, where Kyoto photos begin
Your lesson starts at the Statue of Izumo-no-OkuniKawabatacho, Higashiyama Ward. From that point, you’re in the zone most photographers dream about: narrow streets, old wood textures, and little sightlines that only open up when you walk a few meters one way or another.
This is a private format, so you’re not fighting for position or waiting for the slowest person in the group. That matters in Kyoto, where the best light often changes fast and where you want to stop, frame, shoot, and move without the whole world blocking you.
You also end back at the meeting point. That makes the timing easier if you have dinner or another plan right after.
More Photo Tours in Kyoto
- Kyoto: Maiko Makeover and Photoshoot Experience
★ 4.7 · 239 reviews - Kyoto: Private Photoshoot Service
★ 5.0 · 158 reviews - Your Private Vacation Photography Session In Kyoto
★ 5.0 · 110 reviews
Gion streets in daytime: finding patterns, not just postcards
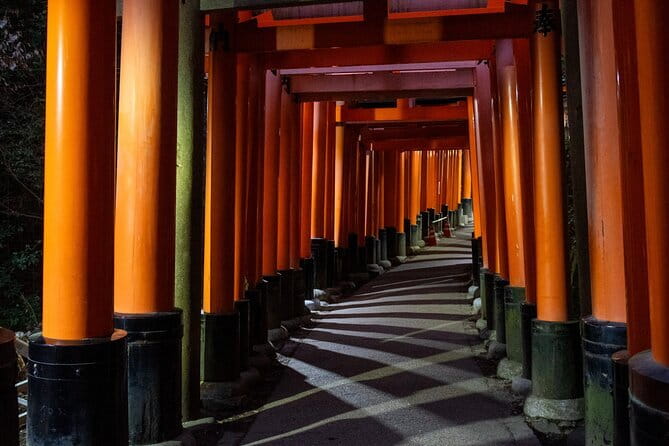
Gion is your first stop. In daylight, it’s all about surfaces and geometry: wooden machiya houses, layered streetscapes, and the way modern life slips into the background of older architecture.
What I like about starting here is that it gives you a warm-up. Your guide can help you translate what you see into something your camera understands. You’ll work on composition, perspective, and camera settings so your photos are intentional, not accidental.
Practical note: Gion looks great from many angles, but the lesson helps you pick the ones that turn everyday details into a clean frame. Think repeating lines, small textures, and scenes where tradition and modern elements share the same photo.
Gion Corner and Minamiza Theater: framing Kyoto’s performing arts vibe
After the main Gion streets, you move through the area around Gion Corner and Minamiza Theater. These stops matter because they add a different kind of subject: Kyoto as a place where culture is performed, staged, and respected.
Even if you are focused on buildings and street scenes, these areas give you composition cues. You can frame signage, entrances, and the edges of walkways to create depth. You can also practice how to photograph people’s presence without turning every shot into a blurry crowd moment.
Pontocho District at night: lantern light that really tests your skills
Then comes the night portion, and Pontocho is where it starts feeling like a real photo workshop.
Pontocho’s atmosphere is built on contrast: lanterns and warm glows against darker street tones, plus modern lights that can easily blow out if you shoot in the wrong mode. This is where the coaching pays off, because night photography is not just about setting a long exposure. It’s about controlling brightness, keeping details, and making sure your story reads.
You focus on night challenges like long exposure and getting consistent results. That’s an important skill in Kyoto, where you want your photos to feel quiet and magical, not smeared or overexposed.
In one recent class, Irven used patience and even brought a tripod for the student, which made a big difference for stability and sharper long-exposure frames. If you already own a tripod, request support anyway so you can compare techniques with the guide right there.
A few more Kyoto days to weigh up
- Kyoto: Tea Ceremony with Kimono and Photoshoot
★ 4.9 · 90 reviews - Kyoto: Private Gion District Photoshoot Experience
★ 5.0 · 79 reviews - Private Photoshoot Experience in Kyoto ( Gion )
★ 5.0 · 61 reviews - Kyoto: Private Photoshoot Experience in Arashiyama Bamboo
★ 4.9 · 55 reviews
How to get better fast in scenes like Pontocho
Night shooting can feel like guesswork. The lesson structure helps because you don’t just shoot and wander. You get to review what you captured, then reset and try again.
That loop is the difference between hoping for the best and building a repeatable approach. You’ll learn how to adjust your settings for the light you see, then apply composition ideas so the scene has a focal point.
Yasaka Shrine and Hokan-ji Temple: where shadows do the storytelling
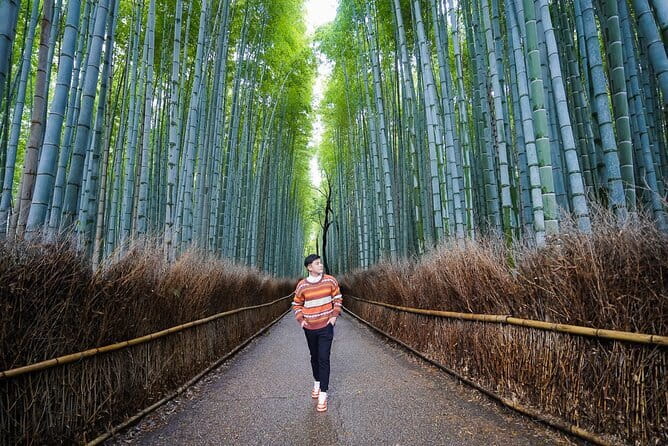
Next you work your way toward Yasaka Shrine and Hokan-ji Temple. These are strong subjects in the daytime, but at night they add drama through lighting choices.
The big win here is that you learn to use shadow and brightness together. Temple grounds and shrine areas often have bright highlights next to darker planes. A coach helps you decide what to expose for, where to place your horizon or architectural lines, and how to keep your frame from turning into a flat brightness blob.
You’re also practicing movement and timing. In Kyoto, you might take one step and the whole frame changes. This lesson format helps you notice that sooner, so you stop wasting shots.
Koju Ninenzaka: the slope approach to cinematic streets
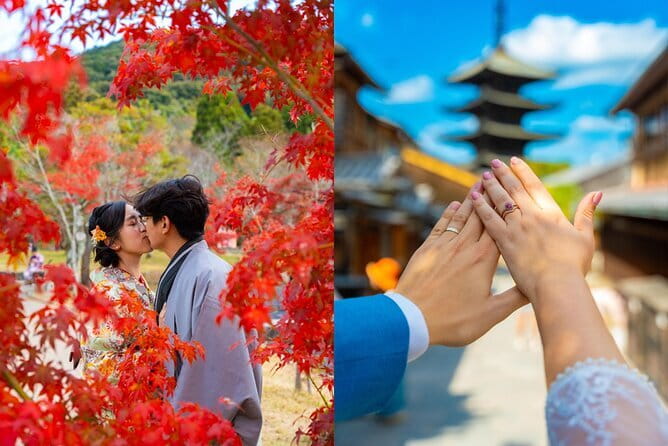
You then reach Koju Ninenzaka, a slope area where the street layout naturally creates perspective. This is where a composition lesson becomes practical.
On a slope, your camera height and angle matter more. Tilt up too much and you lose the street leading lines. Shoot too low and you may reduce the architecture to a block. The guide’s job is to help you choose angles that make your photo look like you were there on purpose.
If you are using any manual or semi-manual settings, this is also a good place to practice consistency. Night lighting can vary block to block, and learning what to change, and what to leave alone, is part of the value.
Kiyomizudera Temple at night: long exposure, big light, real-world balance
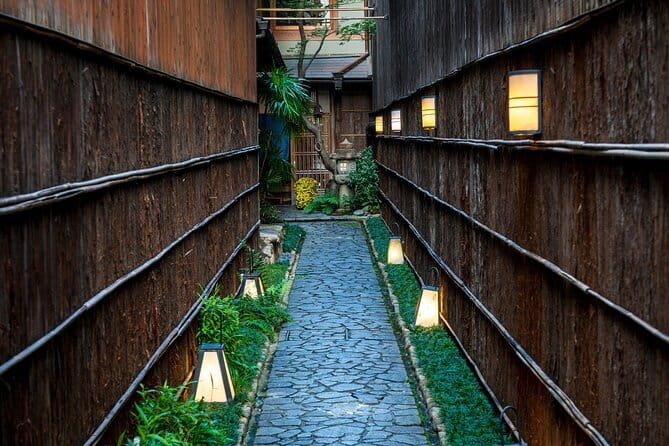
The final stop is Kiyomizudera Temple, lit up against the night sky. This is the part many people imagine when they think of Kyoto after dark, and it’s also where the hardest photo problems show up.
You’re working through long exposure and exposure management in a scene with strong light sources. That combination is tricky. Too much exposure and highlights can blow out. Too little exposure and the scene can go muddy. Your guide focuses on helping you get the right balance so your photos keep detail and emotion.
This is also where the lesson’s pacing matters. You get time to try compositions, check results, and adjust rather than rushing through a famous spot like it’s a photo stoplight.
What you’re actually learning during the 3 hours
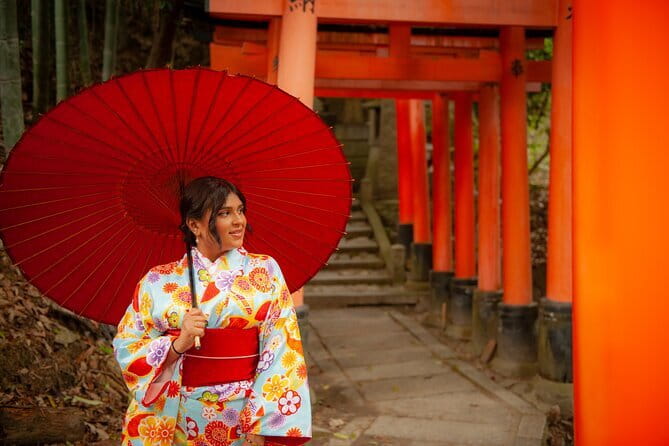
This is marketed as a photography masterclass, but the practical value is simpler: you get feedback tied to what you are shooting. The coaching covers camera settings and composition, plus how to plan your shots around Kyoto’s lighting.
Here’s what that means in real-life terms:
- You learn which settings to adjust for day versus night, not just what settings to copy from the internet
- You practice framing techniques that emphasize Kyoto’s textures and patterns, instead of generic scenic shooting
- You get help finding angles that make the scene look intentional, with cleaner lines and better focus
And in the night session, the lesson highlights the specific hurdles of photographing lantern-lit streets and lit temple architecture. Long exposure is the star skill, but it works only if your composition and exposure choices stay under control.
Camera gear, tripod plans, and what to request
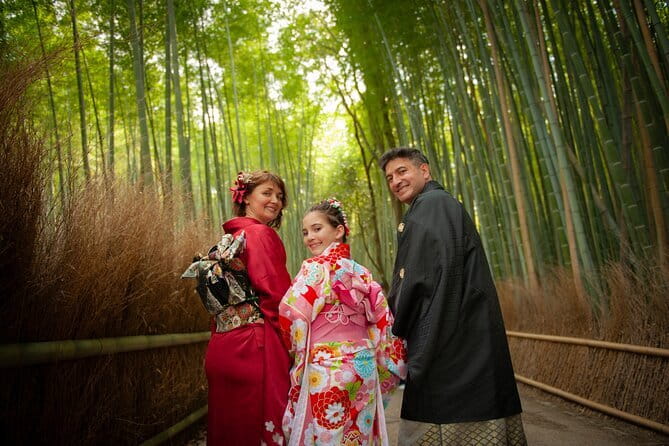
The big gear point: a camera is not included. So you’ll need your own.
Tripod availability is handled with a simple twist: it’s available upon request. One student reported that the photographer guide brought a tripod for them and helped them use it. If you rely on a tripod for night work, request it ahead so you do not waste prime shooting time figuring it out on the spot.
If you don’t have a tripod, you can still learn the process, just know that stability and long exposure are part of what the lesson focuses on.
Price and value: is $170 per person worth it?
At $170 per person for about 3 hours, this is not a budget activity. The value comes from the coaching format: you’re paying for a professional photographer guide plus a licensed English-speaking local guide, and that pair is what turns Kyoto from a beautiful blur into photos you understand.
You also avoid the biggest money leak in photography travel: spending hours doing random shooting with no feedback. With this format, you’re guided toward better locations, better angles, and better lighting decisions, then you get personalized education while you shoot.
Also, because it’s private, you get teaching time without dilution. If you want faster improvement, especially for night photography, this kind of lesson can be a smart spend compared with paying for equipment upgrades alone.
Who this Kyoto photo lesson fits best
This is a great fit if:
- You want help with night photography and long exposure, not just daytime street scenes
- You can bring your own camera and want guided settings and composition coaching
- You like walking and want to explore Kyoto with local routing and timing
You might choose a different option if:
- You only want a sightseeing tour with photos, and you do not care about learning settings or composition
- You are uncomfortable shooting at night, since the lesson includes an after-dark route with temple lighting and lantern-lit streets
Should you book Kyoto Photography Masterclass?
If you want night photos that look like a story, not a technical accident, I’d book it. The combination of a professional photographer, a local guide who knows the scenes, and time to review and try again is exactly how you level up in Kyoto without burning your whole evening on trial and error.
One last practical check: decide early whether you want tripod support and request it if you do. If you show up ready to shoot and learn, you’ll leave with stronger skills and a Kyoto portfolio you can actually recreate later.
FAQ
How long is the Kyoto photography masterclass?
It runs for about 3 hours.
Is this a private tour or a group tour?
It is a private tour/activity, and only your group participates.
What’s included in the price?
The experience includes a local guide, a professional photographer guide, and a licensed English-speaking in-person local guide.
Do I need to bring a camera?
Yes. A camera is not included.
Is a tripod provided?
A tripod is available upon request.
Where does the tour start?
It starts at the Statue of Izumo-no-OkuniKawabatacho, Higashiyama Ward, Kyoto, 605-0076, Japan.
Will I receive a mobile ticket?
Yes, the tour features a mobile ticket.
Can I get a full refund if I cancel?
Yes. You can cancel up to 24 hours in advance for a full refund. If you cancel less than 24 hours before the start time, the amount paid is not refunded.
Newly listed around Kyoto
- Zen Meditation for Life in Kyoto★ 5.0 · 10 reviews
- Kyoto: Zen Meditation at a Private Temple with a Monk★ 5.0 · 25 reviews
- Kyoto Private Customizable Day Tour with Guide and Vehicle★ 5.0 · 52 reviews
- Private Wagyu Beef Tour with a Local Guide★ 5.0 · 6 reviews
- Kyoto: Gion Geisha District & Sake-in-Hand Walking Tour★ 5.0 · 37 reviews
- Your Private Vacation Photography Session In Kyoto★ 5.0 · 110 reviews
- Private Guided Traditional Buddhist Cooking in Japan★ 5.0 · 16 reviews
- Private Pewter Sake Cup Experience with a Kyoto Artisan★ 5.0 · 31 reviews
Photography Sessions, compared.
Kimono Dressing, Walking, and Photography Session
Read our review →
Best Go Kart Experience in Shibuya Crossing with Iconic Photos
Read our review →

Tokyo Go-Karting Experience: Shibuya Crossing with Photos
Read our review →

[Okinawa Blue Cave] Snorkeling with Private Guide+ Free Photos
Read our review →
Your Private Vacation Photography Session In Kyoto
Read our review →
Exclusive Access to Sumo Morning Practice with Photos
Read our review →Browse the lists this tour appears in